If you do historical fencing for long enough, it’s inevitable that you’ll end up with a sword going rusty. This usually happens when we stuff our sweaty fencing jacket into the kit bag, and forget to take it out when we get home. I get asked a lot by students how to clean their swords, so here’s the low down on sword cleaning. You can also do the same for other steel equipment.
Our Goal
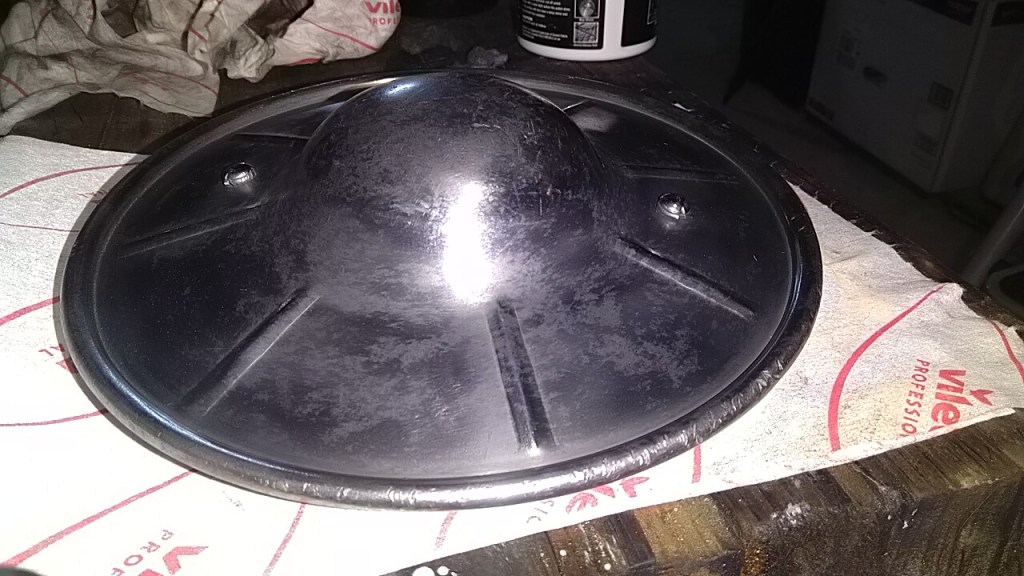
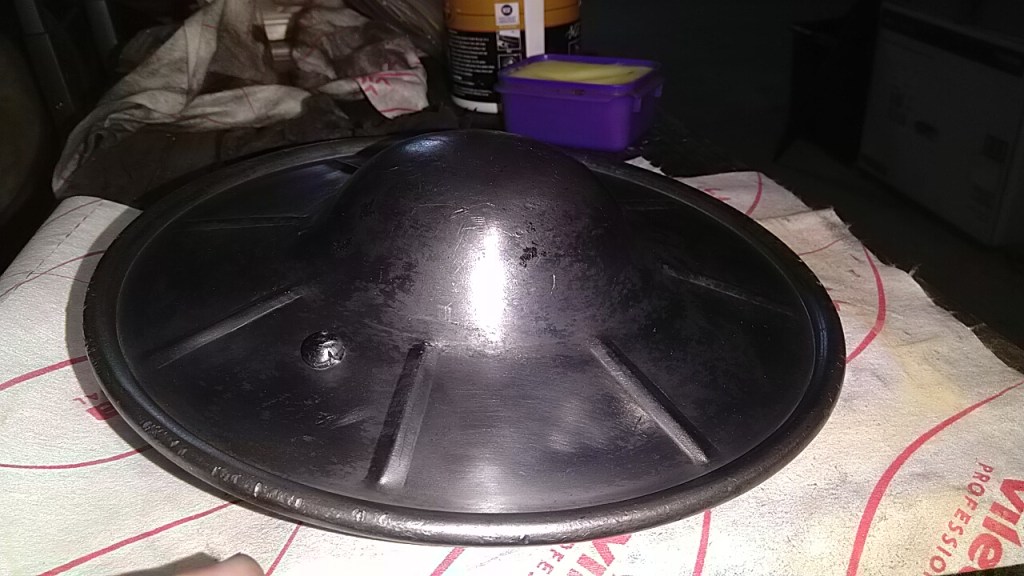
We want to take the item from rusty and unusable, to clean and fit for use. These instructions are written from the perspective of cleaning a sword, but we’ll use images from the cleaning of a steel buckler that fell down the back of the garage storage as our pictorial example.
Rust Removal


If the sword has gone rusty, the first thing we need to do is remove it before it damages the blade.
What you need:

CLR cleaning solution

Scouring Pad

Medium or Fine Grade
Steel Wool
We’re working with a chemical cleaner here, so you’ll also need to be doing this while wearing some rubber or nitrile gloves to protect your hands. I prefer the disposable nitrile gloves, as they’ll get quite messy during the cleaning.
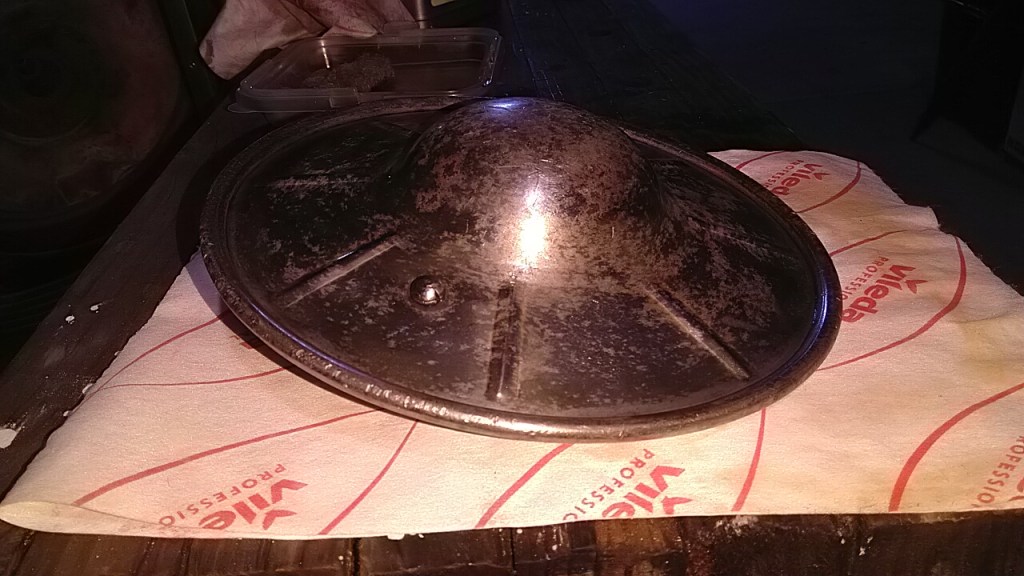
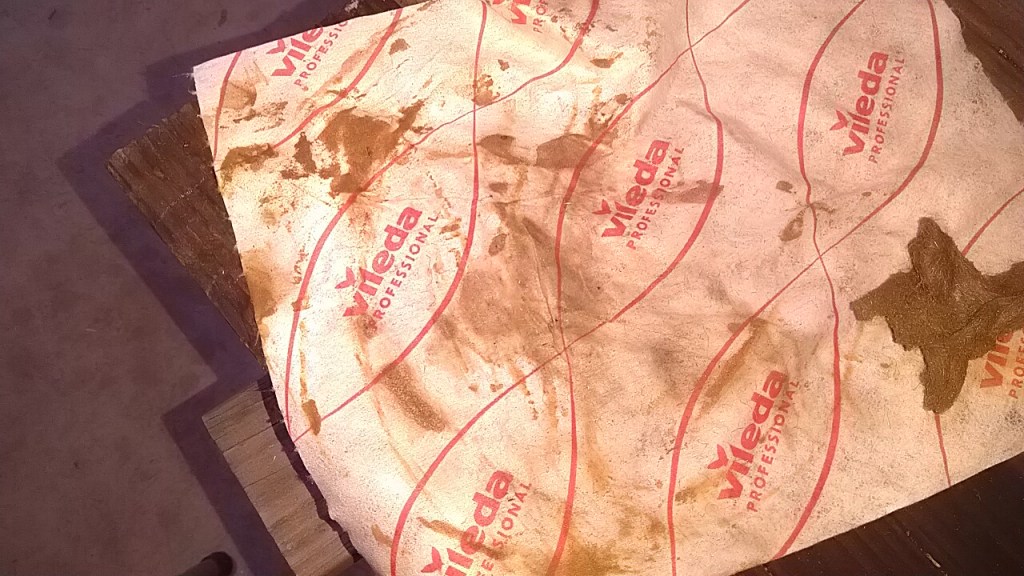
First, disassemble you sword if possible. It’s better to clean the individual parts separately. If the sword has a peened pommel, just be careful when working near your grip. Scrub the metal blade with CLR solution using the scouring pad. If it’s particularly rusty, use the medium grade steel wool first. Rinse the blade with clean water, and dry with a cloth. Check to make sure you have gotten all the rust spots. Stubborn spots can be hit again with steel wool and CLR. The solution needs a little bit of time to work into the rust spots, so a good scrub for 3-4 minutes is required to get all the rust before you rinse the blade. Allow the blade to dry a little before moving onto polishing.
The blade will be a dull greyish colour at this point. Don’t worry about the colour, it will be better after we polish it. You make have some darker patina stains from the rust you can’t shift. That’s not too much of a concern, and doesn’t affect the life of the blade. whilst it’s drying, now get in and do the same with your hilt furniture. It’s a little more fiddly, so take your time and do a good job! 🙂
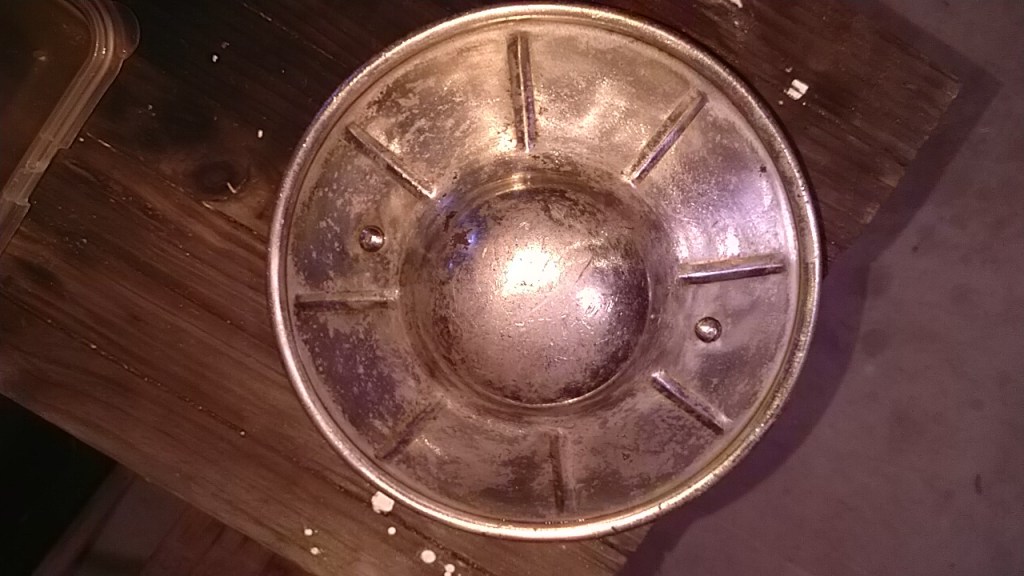


Notice all the rust it’s picked up?
Polishing
What you need:


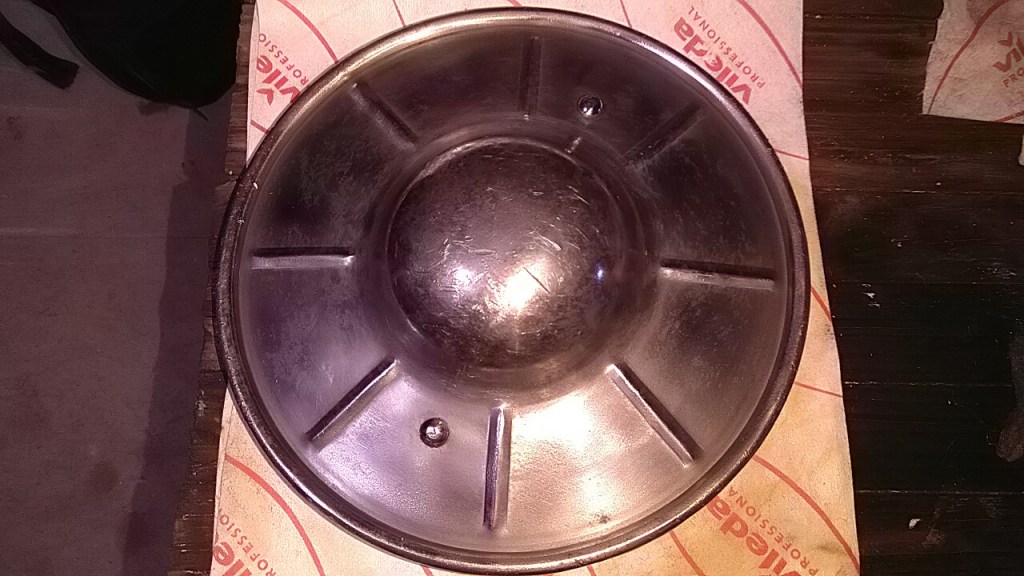
Not all metal polishes are created equal. This particular Autosol polish is tested as food safe, which makes it ideal for us to use on fencing swords. Polish the metal surfaces of your sword using a small amount of polish and superfine grade steel wool until you’ve cleaned off all the dullness. Buff off the polish with a clean cloth. The blade and other metals parts should now have a shiny finish. Crevices and corners in the guard can be particularly tricky to buff out, but the polish responds really well to vigorous buffing actions.
Some people think that the coating from the polish is sufficient for ongoing protection, but I’ve found it doesn’t last very long particularly when being banged around in a fencing bag, so I always apply a protective coating afterwards.
Protective Coating
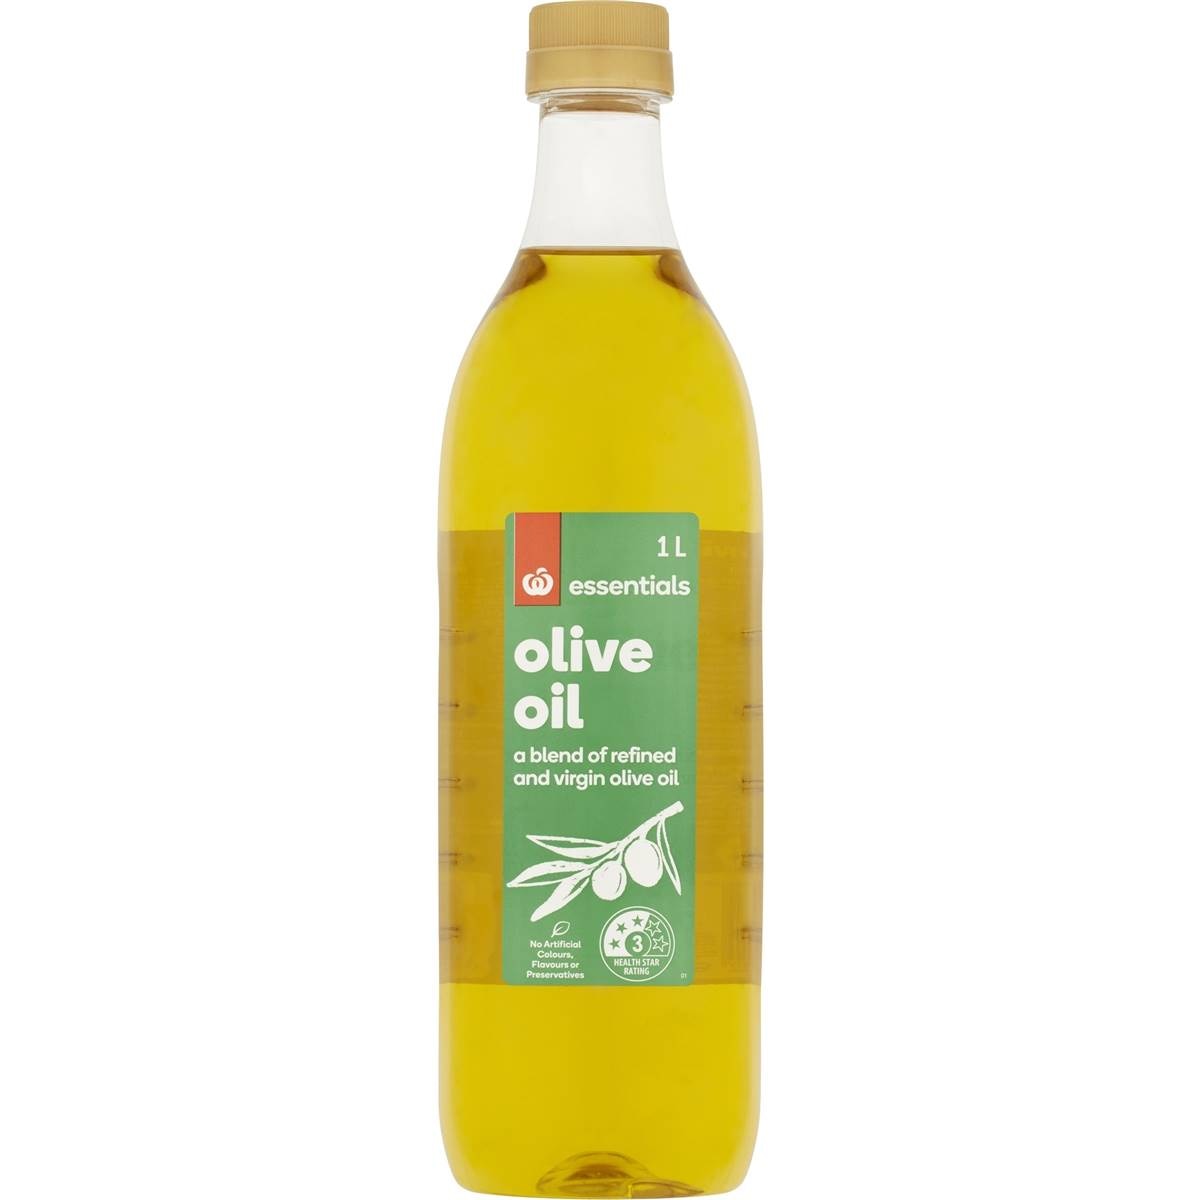
For a protective coating, nothing beats a wax based coating. I use a homemade beeswax and olive oil mixture.
What you need:


essential oil
To make the sword wax, I usually use a mixture of 3 to 4 parts olive oil to 1 part of beeswax. We originally got the recipe from one of the curators at the Leeds Armoury, so I figure if it’s good enough for them it’s fine for us! 🙂 I also add an essential oil such as clove oil or a citrus essential oil, to act as an antioxidant, and it also makes it smell nice. My current batch is using Bergamont Oil. It’s not essential (boom, boom), but it does help stop the olive oil from turning rancid too quickly.
I make a big batch using a clean empty jar (old pasta sauce jars are great). Add the wax to the jar, and then melt the wax by placing the jar (no lid!) into a saucepan of simmering water. Once molten, add the required amount of olive oil, and about 5 drops of the essential oil. I do the oil by volume, but we’ve also done it by weight. Both approaches give similar results. Allow it all to come up to temperature and then mix thoroughly. I stir mine using disposable chopsticks. Once it’s all mixed, remove from the heat and allow to cool. Test the hardness of the final product. You want the feel of something between a bar of soap and a stick of butter. Towards the soap end is good for summer weather use, and towards the butter end is good for winter weather use. Add more oil and remelt if too hard, or add more beeswax and remelt if to soft. I usually start at 3 parts oil, and then add extra as required. If you make a big batch, you can first pour off some of the molten liquid formulation into a smaller container for day to day use. I use one of the 250 mL Decor tub containers for my everyday use, which I keep in the fencing bag along with an application cloth. My current application cloths are just calico offcuts, but any soft cotton fabric will do.
Use a soft cloth to apply the sword wax. The wax is good for metal, wood, and leather so it’s a great all purpose wax. You don’t need a lot, as a little bit goes a long way. If it feels too sticky afterwards just use a clean cloth to buff it, which will pull off some of the excess. The final finish is a little duller than the metal polish, but the protective value is much better. You just need to give the sword a quick wipe down with more wax after each class, and you won’t have any more rust problems. There’s usually enough wax impregnated into the cloth after a few uses that I normally don’t have to add more wax from the container. When it stops feeling sticky as I’m buffing the metal, that’s when I add more wax.

I’m a huge fan of the sword wax, because of the way it protects from corrosion, and it’s non-toxic to boot. Since we started wiping down the loaner swords after each class, I’ve not had a rust problem again. It’s now been about 5 years since we put that rule in place, and we’ve not had to do a bulk rust clean up again, even with Sydney’s humid weather over the last couple of years.
Where to Get Everything
All the above materials can be sourced from the local hardware or grocery stores. The CLR, cloths, beeswax, scouring pads, steel wool, disposable nitrile gloves, and metal polish can all be found at Bunnings. The olive oil and Decor pots can be found at Woollies. The essential oil is the most expensive thing, and costs about $10-$15 at the local chemist, lemon oil is usually the cheapest. One bottle of essential oil will do you for about 25-30 batches of protective wax.

Molasses-water mix is my go-to now for a rust remover. Cheap and non toxic.
LikeLike